What Are Bleed, Trim Size and Safe Margins in Book Printing?
When preparing a book for printing, three terms you will often hear are bleed, trim size and safe margins. Understanding these measurements is important because they determine how accurately your book will be cut and how professional the finished pages will look.
Whether you are printing a novel, textbook, academic book, poetry collection or photo book, setting up your pages correctly can prevent unwanted white edges and content from being cut off.
What Is Trim Size?
Trim size is the final size of your book after printing and cutting.
For example, if your finished book is A5 size (148 × 210 mm), this measurement is the trim size.
The printer initially works with a slightly larger printed sheet. After printing, the excess area is trimmed away to produce the required finished size.
Common book trim sizes include:
- A5 – 148 × 210 mm
- B5 – 176 × 250 mm
- 6 × 9 inches
- 7 × 10 inches
- 189 × 253 mm
Your document should always be designed according to the final trim size specified by your printer.
What Is Bleed in Book Printing?
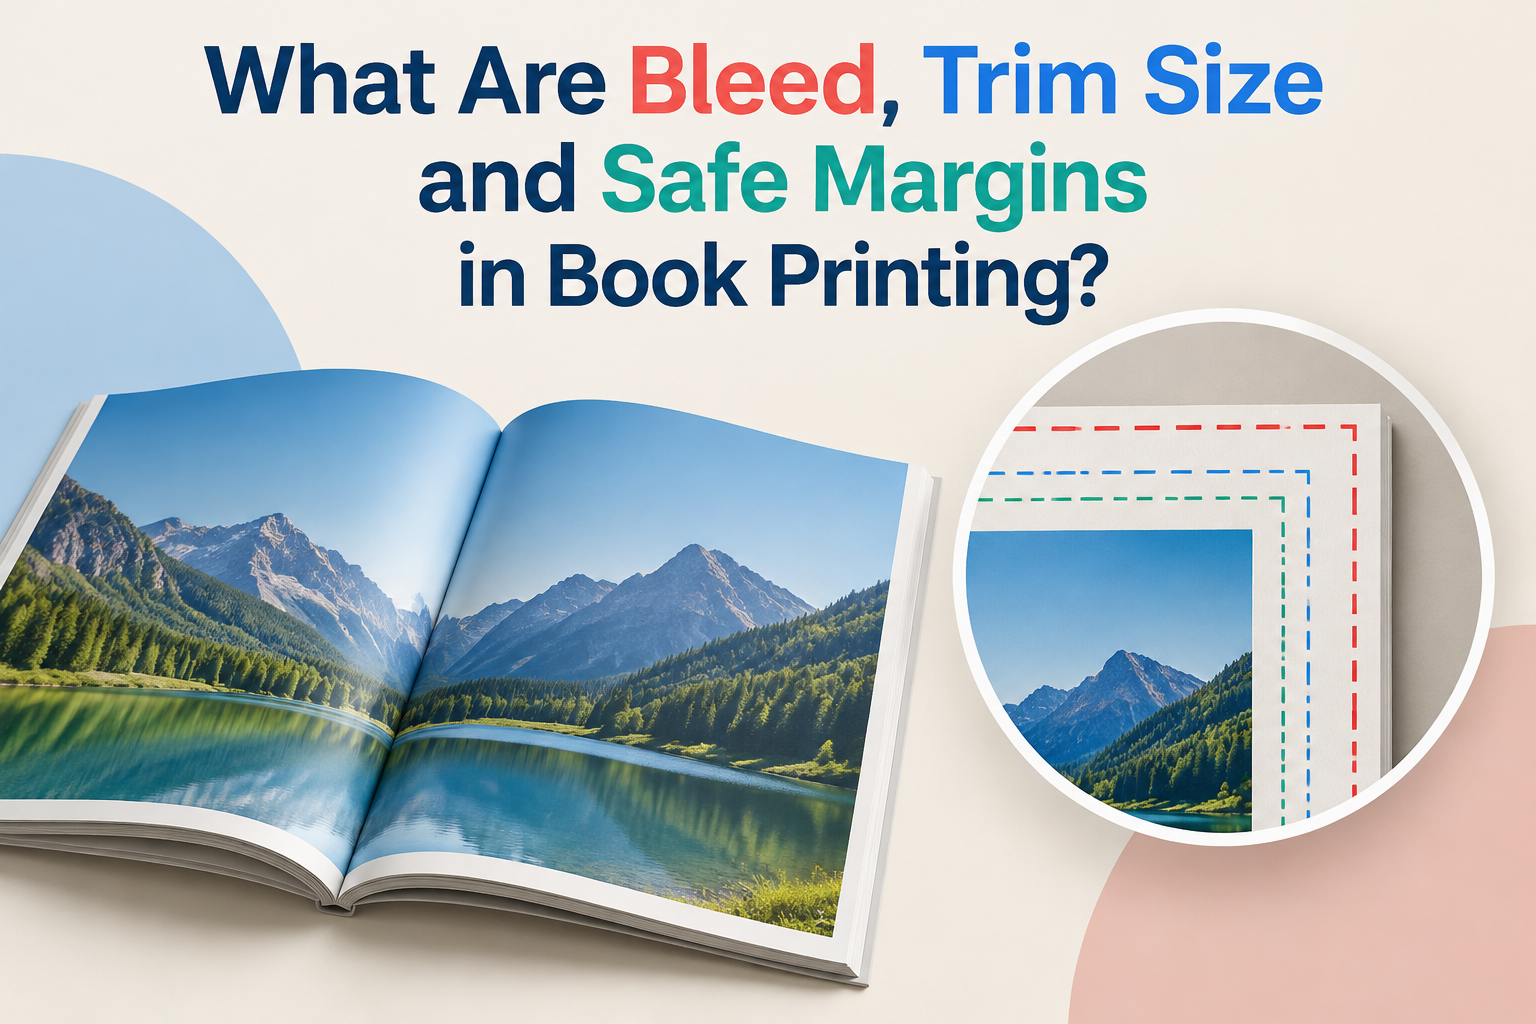
Bleed is the extra printed area that extends beyond the trim line.
If a background colour, photograph or design needs to reach the edge of the finished page, it should extend beyond the trim size.
A commonly used bleed allowance is 3 mm on each side, although the exact requirement can vary depending on the printer and production method.
For example:
A5 Trim Size: 148 × 210 mm
With 3 mm Bleed: 154 × 216 mm
Why is bleed necessary?
Cutting machines cannot always cut every sheet at exactly the same position. Tiny variations can occur during finishing. Without bleed, these variations may leave an unwanted thin white line along the edge of the page.
Bleed provides the printer with extra artwork that can safely be trimmed away.
For more technical guidance on preparing print-ready files, refer to Adobe’s guide to printer marks and bleeds.
What Is a Safe Margin?
While bleed extends the design outside the trim line, a safe margin keeps important content inside the trim line.
Text, page numbers, logos, headings and other essential elements should not be positioned too close to the edge of the page.
For example, if your printer specifies a 5 mm safe margin, important content should remain at least 5 mm inside the trim line.
This reduces the risk of text or important design elements being cut during trimming.
For books, the inner margin near the binding may need to be larger than the outer margins, particularly for thicker books.
Bleed vs Trim Size vs Safe Margin
The easiest way to understand the difference is:
Bleed → Outside the finished page
Extra artwork that will be cut away.
Trim Size → Actual finished page
The final dimensions of your printed book.
Safe Margin → Inside the finished page
The area where important text and design elements should remain.
Think of the layout as:
BLEED → TRIM LINE → SAFE AREA → CONTENT
Example: Setting Up an A5 Book
Suppose you are preparing an A5 book.
The final trim size is:
148 × 210 mm
If the printer requires 3 mm bleed, your full artwork becomes:
154 × 216 mm
Background images and colours should extend all the way to the bleed edge.
However, titles, text, logos and page numbers should remain comfortably inside the safe area.
This simple setup gives the printer enough space to trim the pages without affecting important content.
Do All Book Pages Need Bleed?
No.
Bleed is mainly required when an image, colour or design extends to the edge of the page.
If your book contains only text with normal white margins, bleed may not be necessary for the interior pages.
However, book covers usually require bleed because their background colours and images commonly extend to the edges.
Always check the printer’s specifications before preparing the final print-ready PDF.
Common Bleed, Trim Size and Safe Margin Mistakes
One common mistake is placing text directly next to the trim line. Even a small cutting variation can make the finished page look uneven or cut part of the content.
Another mistake is ending a background image exactly at the trim line instead of extending it into the bleed area. This can result in visible white edges.
Also, avoid assuming that every printer uses the same specifications. Bleed, safe margins, spine allowances and cover setup requirements can differ.
Why These Measurements Matter
Correct bleed, trim size and safe margins help produce a cleaner and more professional book.
They help:
- Prevent unwanted white edges
- Protect text from accidental trimming
- Maintain consistent page alignment
- Improve the appearance of full-page images
- Make your PDF more suitable for professional printing
- Reduce corrections before production
Proper page setup is only one part of creating a professional book. Choosing the right cover finish is equally important, so read our guide on Matte vs Gloss Lamination for Book Covers to find the best option for your book.
Final Thoughts
Understanding bleed, trim size and safe margins is an important part of preparing a print-ready book.
Remember the basic rule:
Extend backgrounds beyond the trim line into the bleed area, but keep important content safely inside the trim line.
Before submitting your book for printing, confirm the required page size, bleed, margins, binding type and PDF specifications with your printing provider.
Correct file preparation saves time, reduces printing errors and helps your finished book look exactly the way you intended.